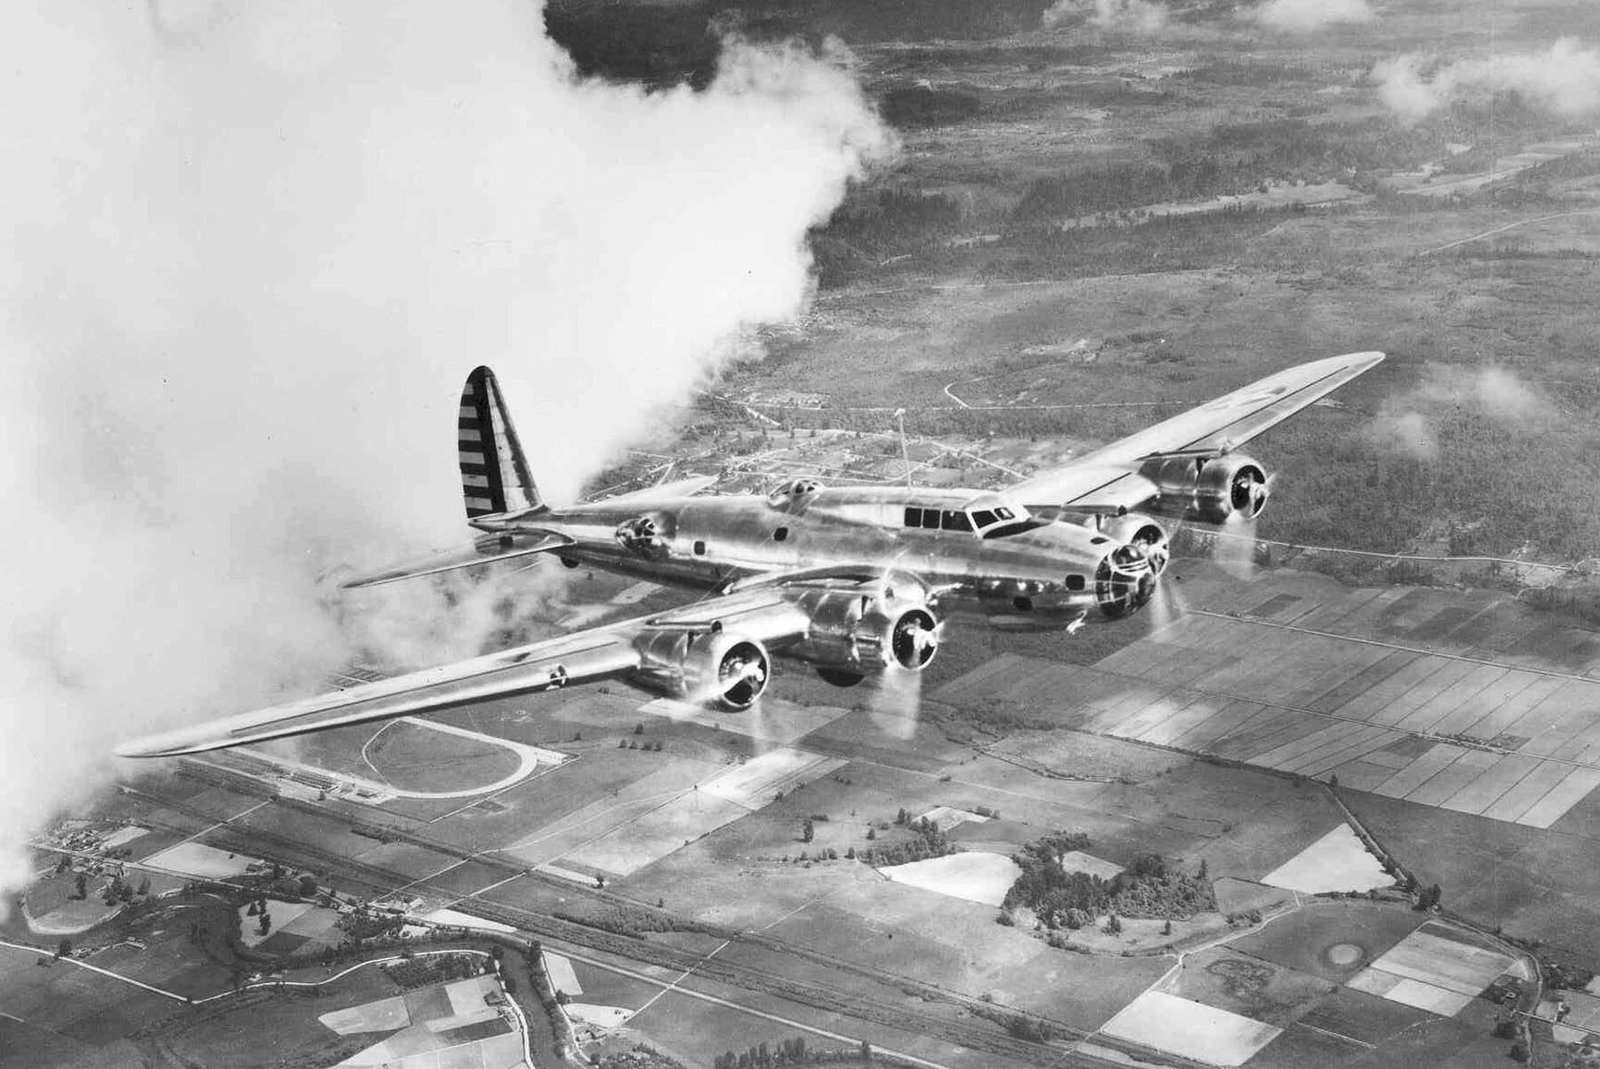
The Boeing B-17F Flying Fortress was the blunt-force instrument of the Allied daylight strategic bombing campaign over Europe. Tasked with dismantling the Axis war machine from 25,000 feet, the B-17 was designed around a central doctrine: that a heavily armed, tight formation of bombers could fight its way to a target and back without fighter escort. While the staggering losses of 1943 proved that doctrine fatally flawed, the aircraft itself earned a legendary reputation for survivability. Capable of limping home on a single engine, riddled with flak, and missing large sections of its control surfaces, the B-17 became an icon of wartime resilience. Manned by a crew of ten, the 65,000-pound aircraft traded speed and maximum payload for redundant systems, defensive firepower, and structural redundancy, ultimately helping break the back of the Luftwaffe before the war’s end.
- The Combat Box Defenses: The B-17F bristled with up to thirteen .50 caliber M2 Browning machine guns covering nearly every angle of approach, forcing German pilots to risk flying into a wall of overlapping fire.
- Extreme Damage Tolerance: German Luftwaffe analysts calculated in 1943 that it took an average of twenty 20 mm shell hits from the rear—or four specialized 30 mm shells—to reliably bring down a single B-17.
- The “Tokyo Tank” Range Extension: To reach deep into Europe, the wings housed 18 self-collapsible rubber fuel bladders, expanding the fuel capacity to 2,780 gallons, though they presented a severe explosive vapor risk in combat.
- Precision Delivery: The aircraft utilized the highly classified Norden Bombsight, a mechanical computer and gyroscope system that actually flew the aircraft during the final bomb run to ensure devastating accuracy.
- Heavy Toll: Out of 12,731 B-17s produced during the war, 4,735 were lost in combat—a nearly 40% attrition rate that underscored the sheer violence of the European air war.
Airframe and Structural Resilience
Beneath its incredibly thin skin—stressed duralumin measuring just 1/50th of an inch thick (roughly three to four times thicker than household foil)—the B-17 hid a remarkably robust skeletal structure. The fuselage utilized reinforced formers and longerons, while the 103-foot wings incorporated a twin-longeron design supported by complex trusses and covered in corrugated aluminum sheeting.
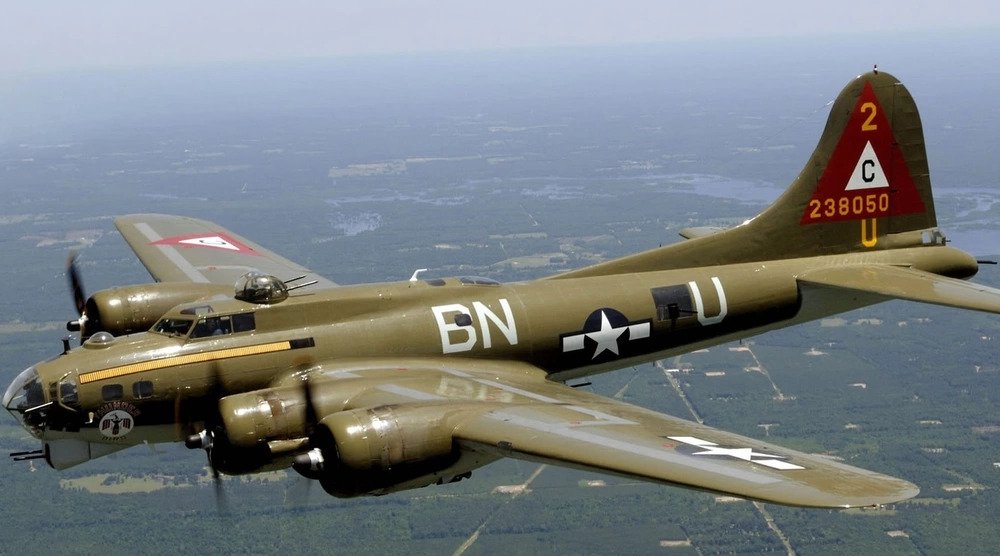
The bomber was built in distinct numbered sections to streamline mass production. The plexiglass nose (Section 41) housed the bombardier and navigator, flowing back into the flight deck and bomb bay. The aft sections contained the radio compartment, waist gunner stations, and the “stinger” tail gun position. Armor protection consisted of thin manganese steel plates mounted on rubber padding. While these plates successfully stopped flak shrapnel and .30 caliber rounds, they were ineffective against direct hits from heavy 20 mm or 30 mm cannon fire.
To mitigate anti-aircraft fire, crews relied on erratic maneuvers. Pilots were instructed to change course by at least 30 degrees for 10 seconds every 40 seconds to throw off the mechanical predictors used by German flak batteries. However, inside tight combat box formations, these maneuvers had to be perfectly synchronized with the lead aircraft to avoid catastrophic mid-air collisions.
Defensive Firepower and the 10-Man Crew
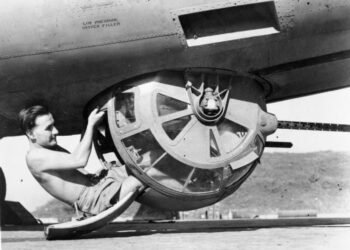
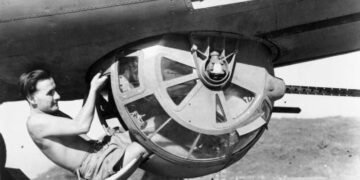
The B-17’s defense relied entirely on its crew and its .50 caliber M2 Brownings. The 10-man crew consisted of the Commander (Pilot), Co-Pilot, Bombardier, Navigator, Flight Engineer (Dorsal Turret), Radio Operator, Ball Turret Gunner, two Waist Gunners, and a Tail Gunner.
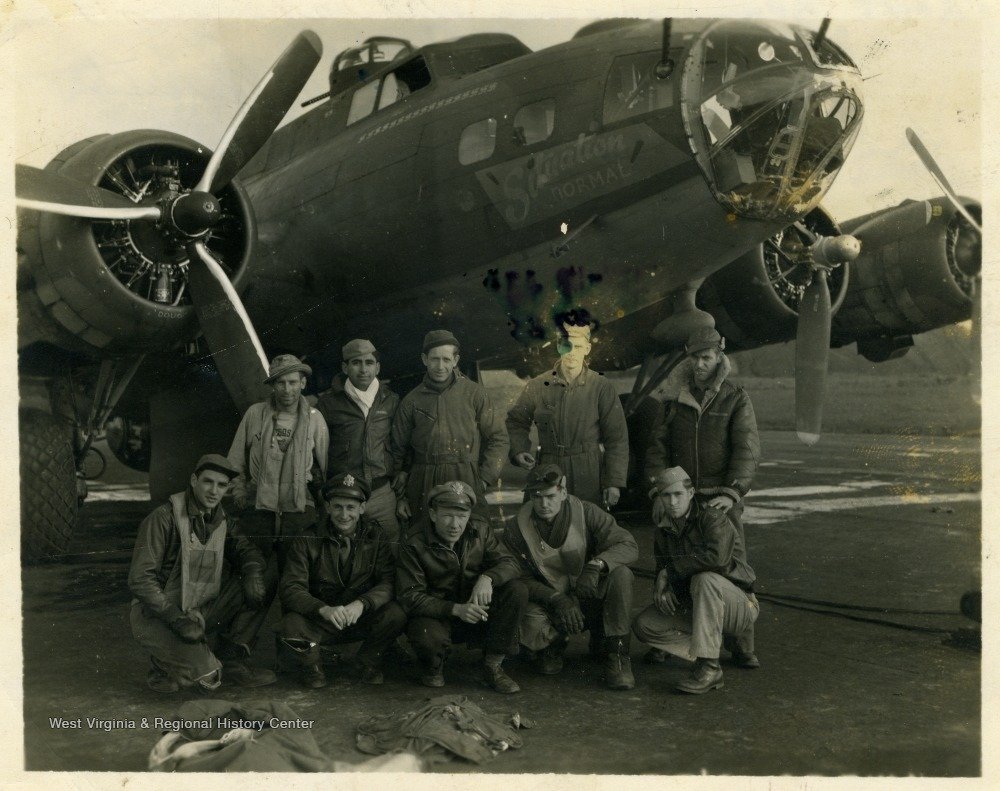
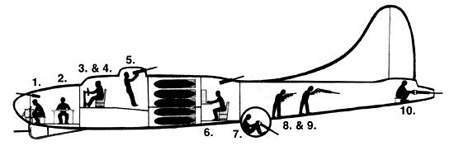
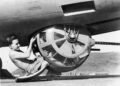
The armament was distributed to eliminate blind spots. The power-operated dorsal and ventral ball turrets featured twin .50 calibers and reflector sights. The tail gunner manned a twin .50 caliber setup using an analog ring-and-bead iron sight. The nose could mount up to four .50 cals, while single guns covered the radio roof hatch and the open waist windows. On the B-17F, the waist windows were positioned directly across from one another, causing the gunners to frequently bump into each other during frantic engagements—a design flaw corrected in the subsequent “G” model.
When enemy fighters were spotted, crews used a clock-position callout system (e.g., “Bandits, 6 o’clock high!”). The Luftwaffe quickly learned that attacking from the rear subjected them to the highest concentration of fire. German pilots eventually shifted to head-on attacks, exploiting the massive closing speeds and the B-17’s comparatively lighter forward armament to minimize their time in the kill zone.
Propulsion, Redundancy, and Range
Power was generated by four Wright Cyclone R-1820-97 radial 9-cylinder air-cooled engines, each fitted with a turbo-supercharger and a three-blade controllable-pitch propeller. While nominal output was 1,200 horsepower per engine, pilots could push them to 1,380 horsepower using Wartime Emergency Power (W.E.P.) for brief sprints up to 325 mph.
The B-17 was designed with extreme redundancy. While regulations stated it could fly on two engines, crews regularly coaxed violently damaged Fortresses back to base on a single running engine, continually bleeding altitude across the English Channel. If an engine caught fire or seized, the pilot could completely feather the propeller blades to reduce drag.
Fuel management dictated the aircraft’s striking power. The standard six self-sealing wing tanks held 1,700 gallons. These tanks featured an inner sack of gasoline-soluble rubber encased in a soft aluminum shell; if punctured, the rubber expanded to seal the bullet hole. To hit targets deep inside Germany, B-17Fs utilized “Tokyo Tanks”—18 non-self-sealing, thick rubber bladders stuffed into the wing cavities, adding 1,080 gallons. While they extended the range, the lack of an outer metal shell meant vapor could accumulate in the wings, turning the aircraft into a flying bomb if hit by incendiary rounds.
Payload and the Bomb Run
Though massive, the B-17 traded maximum payload for range and survivability. While capable of carrying up to 9,600 pounds internally, flying with a maximum bomb load drastically reduced its combat radius. The standard tactical loadout was between 4,000 and 6,000 pounds, granting a combat range of roughly 1,300 to 1,400 miles.
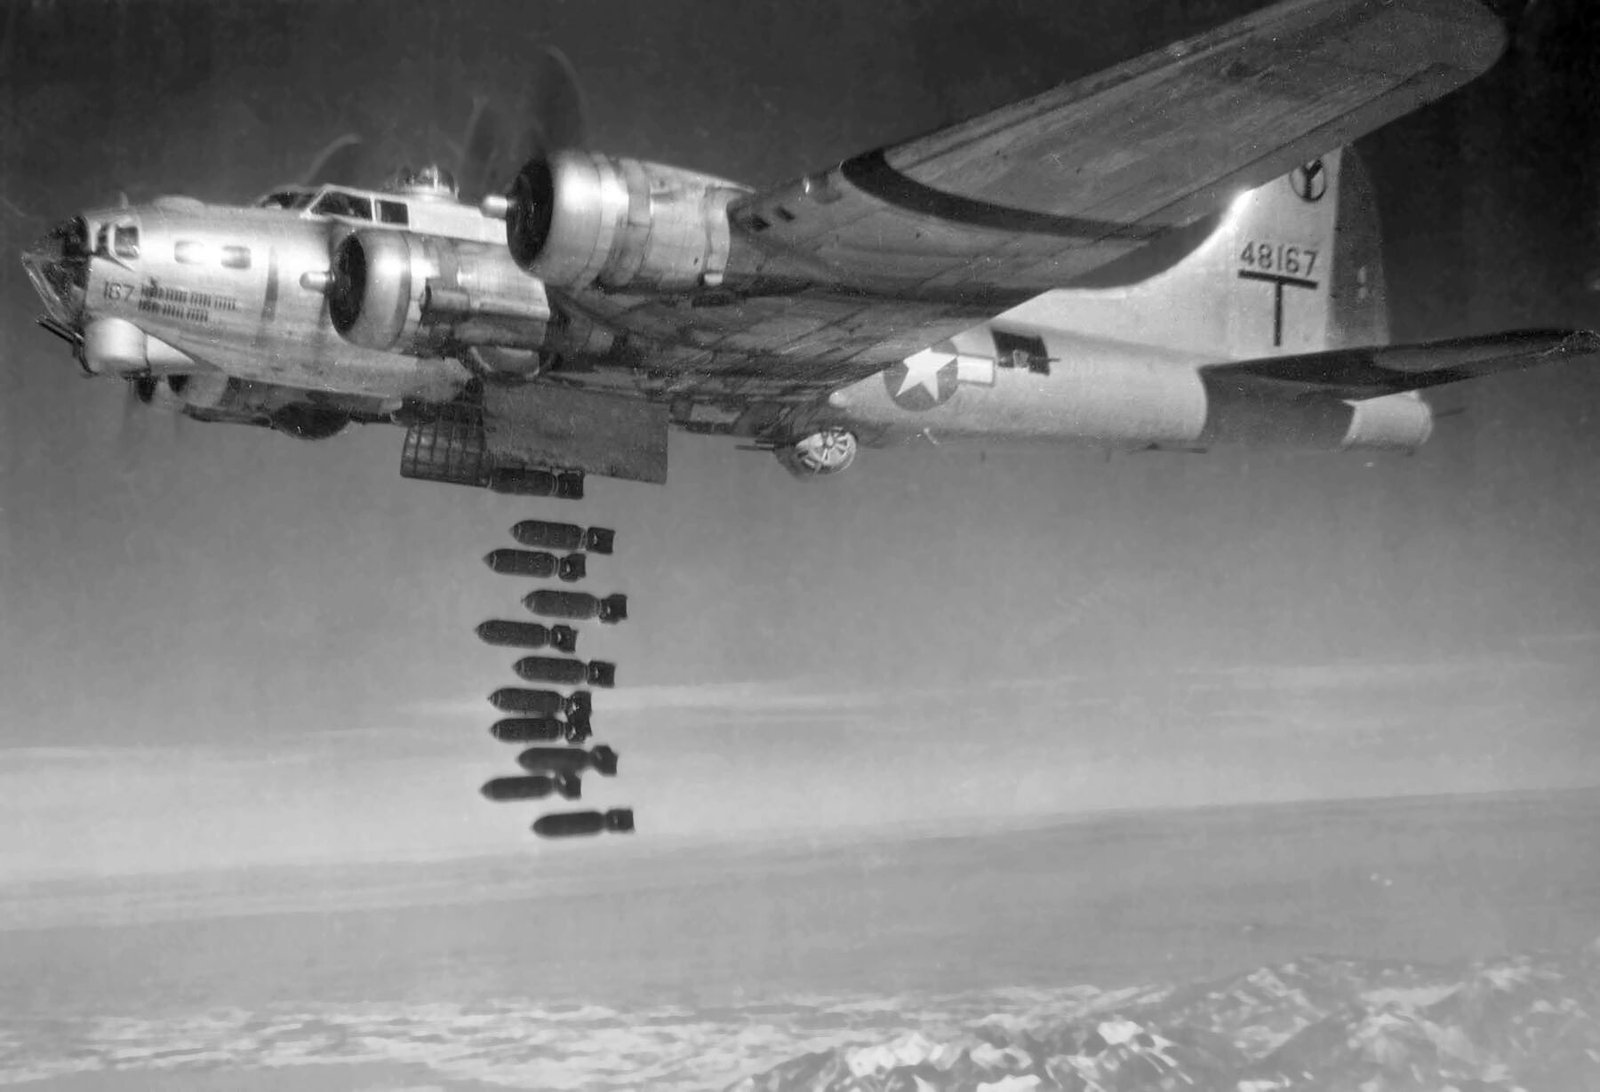
The success of the entire mission rested on the final moments over the target. As the B-17 approached the drop zone, the pilot engaged the autopilot and transferred total control of the aircraft to the Bombardier. Using the highly classified Norden bombsight, the Bombardier fed altitude, wind speed, and bearing data into the sight’s mechanical computer. During this straight-and-level bombing run, the aircraft was highly vulnerable to ground flak. Once the crosshairs aligned, the ordnance was released, the Bombardier called “Bombs Away,” and the pilot violently broke formation to head for home.
| Specification | Value | Tactical Implication |
| Max Takeoff Weight | 65,000 lbs (Limit: 72,000 lbs) | Heavy structural weight due to armor and redundancy limits max bomb payload |
| Max Ordnance Payload | 9,600 lbs | Usually restricted to 4,000-6,000 lbs to maintain viable combat range |
| Defensive Armament | Up to 13x .50 Cal M2 Brownings | Overlapping fields of fire designed to protect tight box formations |
| Powerplant | 4x Wright Cyclone R-1820-97 | 1,200 hp each (1,380 hp W.E.P.); capable of flight on a single engine |
| Cruising Speed / Ceiling | 200 mph / 37,500 ft | High operational altitude forced crews to rely on unheated oxygen masks |
| Total Fuel Capacity | 2,780 US Gallons | Wing tanks were self-sealing; Tokyo tanks were highly vulnerable to vapor explosions |
| Crew Complement | 10 Personnel | Required specialized coordination between gunners, pilots, and bombardier |